9 月 . 03, 2024 12:01 Back to list
deep well pump installation
Deep Well Pump Installation A Comprehensive Guide
Deep well pumps are essential for supplying water from underground sources, especially in areas where surface water is scarce. These pumps are designed to operate at depths where conventional pumps cannot function efficiently. Installing a deep well pump requires careful planning and execution to ensure optimal performance. This guide outlines the key steps involved in deep well pump installation.
Step 1 Site Assessment
Before installation, a thorough site assessment is crucial. Identify the location of the well, ensuring it is at an appropriate distance from potential contaminants such as septic systems or agricultural runoff. Conduct a geotechnical survey to determine the groundwater level, soil type, and well depth. Understanding these factors will help in selecting the right pump and installation technique.
Step 2 Selecting the Right Pump
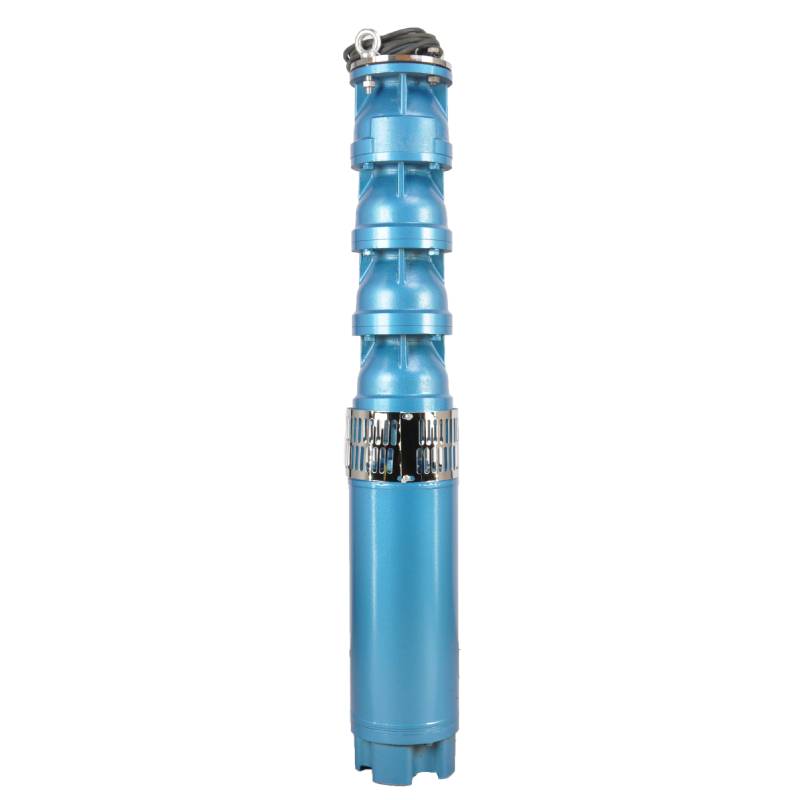
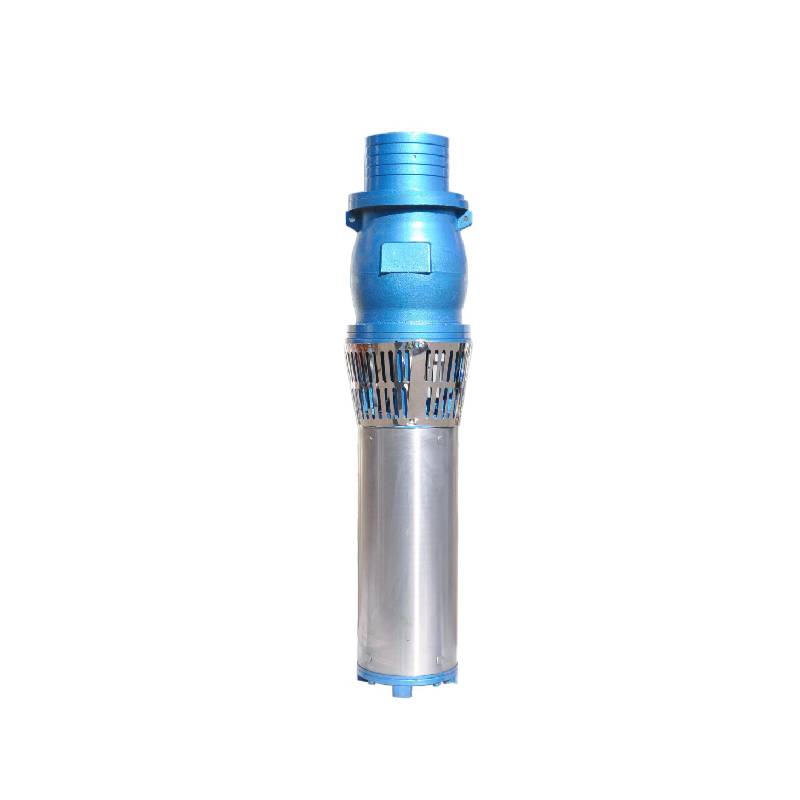
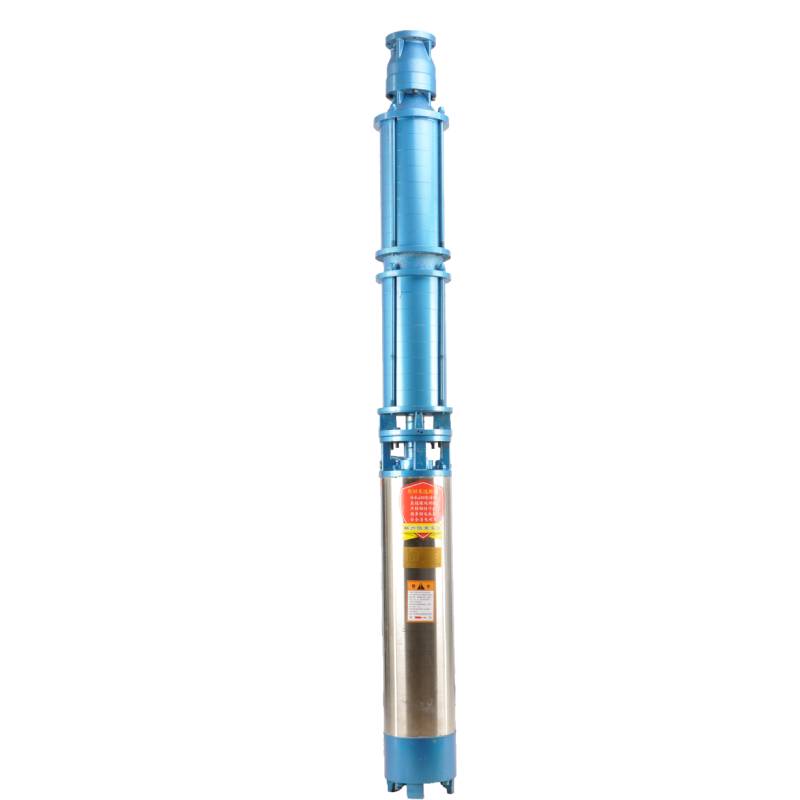
Choosing the right deep well pump is vital for effective water extraction. Consider factors such as the desired flow rate, total dynamic head (TDH), well diameter, and water quality. Deep well pumps typically come in submersible and turbine types, with submersible pumps being more common for residential use. Always consult a professional or refer to manufacturer specifications when making selections.
Step 3 Gathering Materials and Tools
Once the pump is selected, gather all necessary materials and tools. This includes the pump itself, discharge pipe, electrical wiring, controller, check valve, and any additional equipment needed for securing the pump in place. Having all materials ready will streamline the installation process.
Step 4 Well Plumbing and Wiring
deep well pump installation

Begin the installation by connecting the pump to the discharge pipe and ensuring all fittings are secure. It is important to use appropriate piping materials that can withstand pressure and prevent wear over time. Next, carefully connect the electrical wiring to the pump. Follow the manufacturer’s guidelines to ensure safe and proper connections. If the installation involves complex wiring or high voltage, hiring a licensed electrician is recommended.
Step 5 Lowering the Pump into the Well
With everything in place, it’s time to lower the pump into the well. This step requires careful handling to avoid damaging the pump or disrupting the well structure. Use a sturdy cable and hoist system to lower the pump slowly into the well, monitoring the depth closely until it reaches the optimal operating level, usually below the static water level.
Step 6 Testing the System
After the pump is installed, it is crucial to test the system before full operation. Turn on the power and monitor the pump for any unusual sounds or vibrations. Check for leaks in the plumbing and ensure the water flow meets the expected rate. If issues arise, troubleshoot them immediately to prevent further complications.
Step 7 Regular Maintenance
Once the deep well pump is up and running, establish a regular maintenance schedule. This includes periodic checks on the pump's performance, inspecting electrical connections, and cleaning filters as needed. Regular maintenance prolongs the life of the pump and ensures reliable water supply.
In conclusion, proper installation of a deep well pump requires attention to detail and adherence to best practices. By following these steps, homeowners can ensure they have a reliable source of water for years to come. Always consider consulting with professionals when in doubt to achieve the best results.
-
Your Guide to Deep Well Pumps
NewsOct.31,2024
-
Why Choose a Stainless Steel Deep Well Pump?
NewsOct.31,2024
-
Understanding Water-Filled Submersible Pumps
NewsOct.31,2024
-
Understanding SS Submersible Pumps
NewsOct.31,2024
-
Reliable Submersible Well Pumps for Your Water Supply Needs
NewsOct.31,2024
-
Choosing the Right Submersible Pump for Your Water Management Needs
NewsOct.31,2024
-
 Understanding Water-Filled Submersible PumpsWhen it comes to selecting the right pump for your water management needs, understanding the different types available is crucial.Detail
 -
 Guide to Installing a Deep Well Submersible PumpWhen dealing with deep wells, a deep well submersible pump is often the most effective solution for extracting water from significant depths.Detail
 -
 Finding the Right Submersible PumpWhen seeking an efficient solution for pumping water from deep wells, sumps, or other applications, the submersible pump is a leading choice.Detail
