10 月 . 05, 2024 10:42 Back to list
how to change a submersible well pump
How to Change a Submersible Well Pump
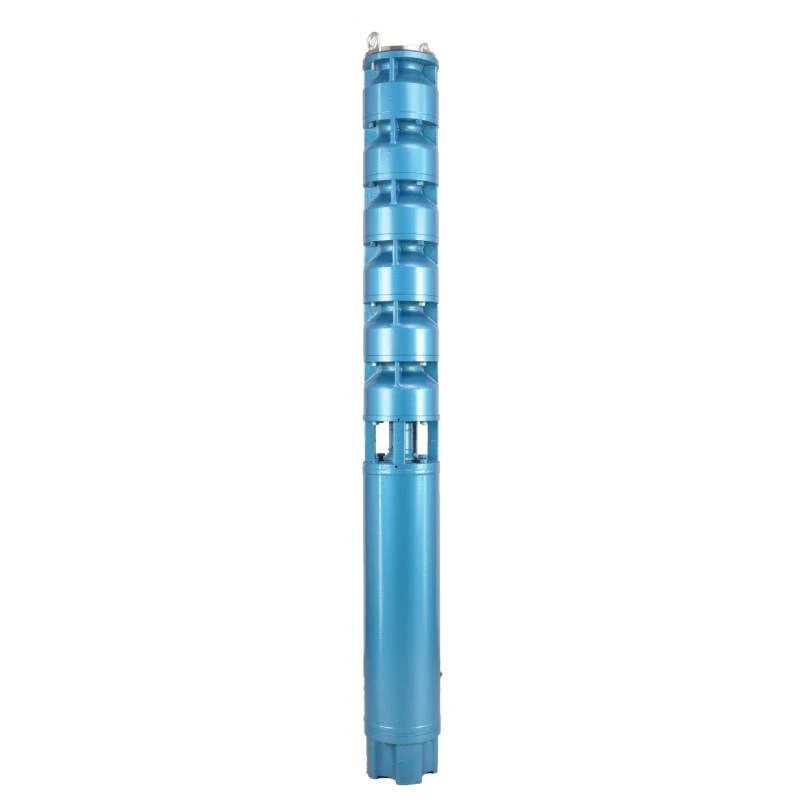
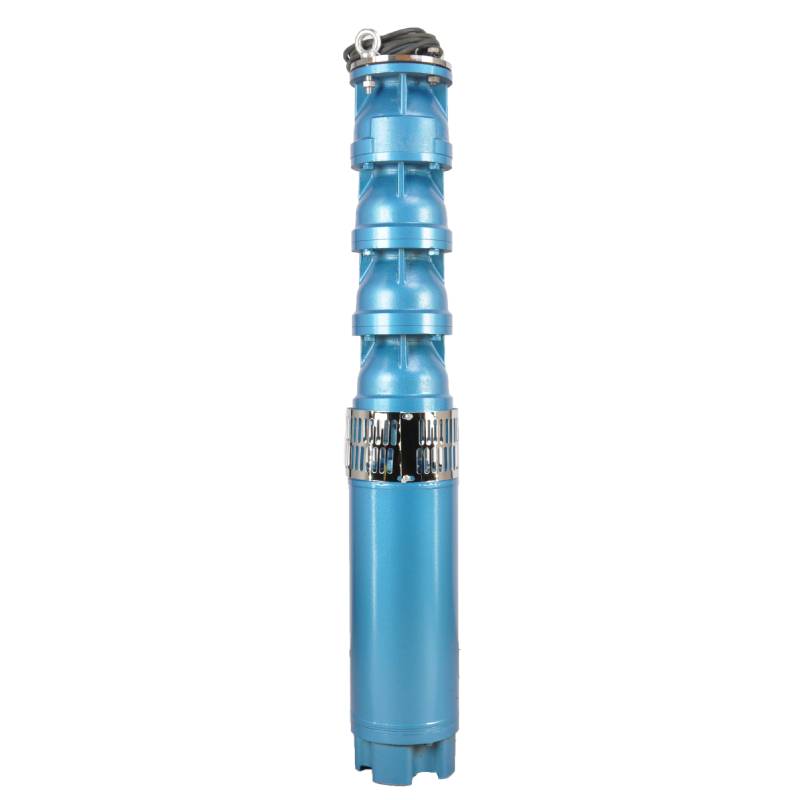
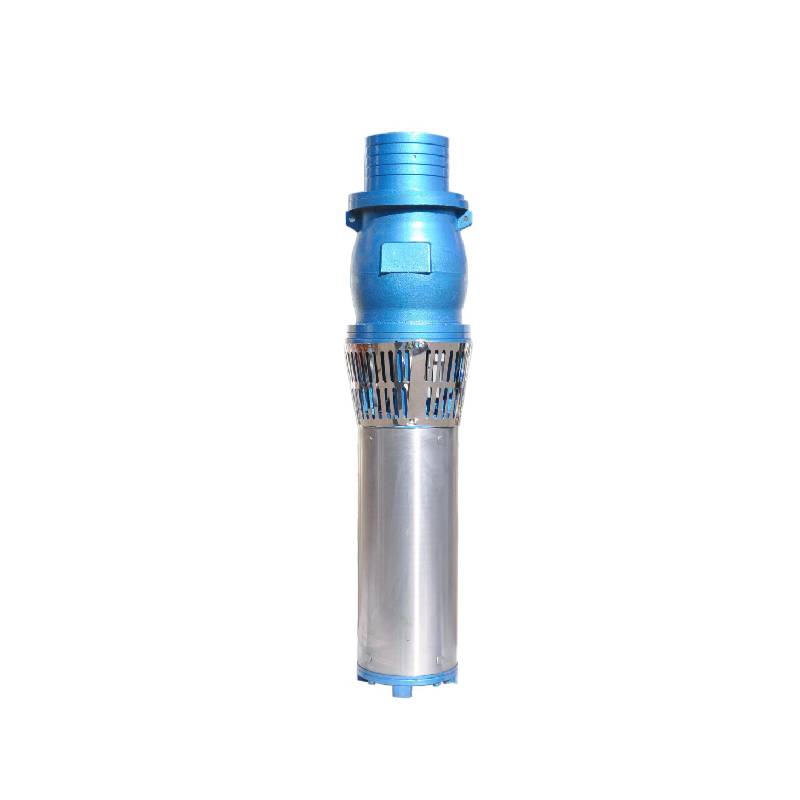
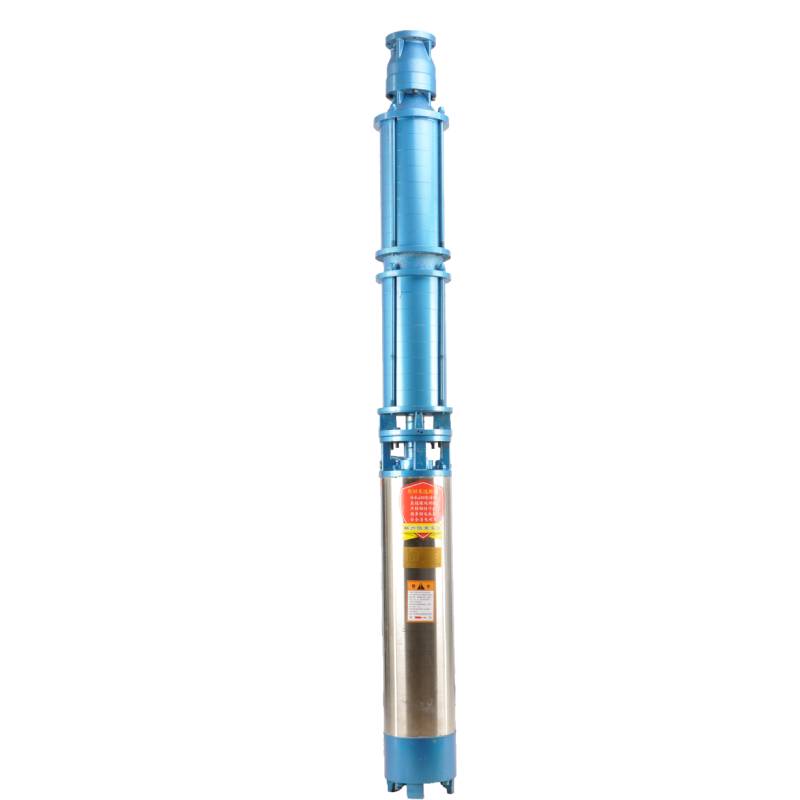
A submersible well pump is a crucial component of a water supply system, particularly in rural or remote areas where municipal water supply is unavailable. These pumps are designed to function underwater and are typically used to draw water from deep wells. Over time, however, submersible pumps may fail due to wear and tear, electrical issues, or clogs. When this happens, changing the pump is necessary. In this article, we will guide you through the process of changing a submersible well pump safely and efficiently.
Safety Precautions
Before starting the replacement process, it is essential to ensure your safety. Turn off the power to the well pump at the circuit breaker to avoid any accidental electrical shock. Additionally, gather the necessary tools and materials, including a wrench, pliers, a bucket or a hose for draining water, and a new submersible pump. Wearing gloves and safety goggles is also recommended to protect yourself during the process.
Step 1 Remove the Well Cover
The first step in changing a submersible well pump is to access the well head. Locate the well cover, which is typically at ground level. Unscrew or unbolt it to remove the cover carefully. Once removed, ensure that any debris or dirt is clean to prevent contamination of the well water once the pump is replaced.
Step 2 Disconnect the Pump Wires
Once you have access to the well, you will see the wiring that connects the submersible pump to the power source. Carefully disconnect these wires by unscrewing the wire nuts. Make sure to take notes or photos of how these wires are connected so you can replicate the setup when installing the new pump.
Step 3 Remove the Pump from the Well
The next step is to pull the old pump out of the well. Depending on the depth of your well, this can be a challenging task. Use a wench or a two-person team, if necessary, to lift the pump. Be cautious while pulling it out; twisting can break the suction line or damage the pump. If the pump is stuck, make sure to check for any obstructions and clear them.
how to change a submersible well pump

Step 4 Install the New Pump
Once the old pump is removed, it’s time to install the new one. Begin by lowering the new submersible well pump into the well. Make sure that it is oriented correctly and that the discharge pipe is positioned properly. As you position the new pump, take care not to damage any components, and ensure it is secure and stable at the bottom of the well.
Step 5 Reconnect the Wiring
After the new pump is secured in place, reconnect the electrical wires. Refer to your notes or photos from step 2 to ensure that you connect the wires correctly. Pay attention to the color codes (usually black, red, and green) and secure them with wire nuts. Make sure there are no exposed wires to prevent electrical shocks.
Step 6 Test the Pump
Before replacing the well cover, it’s essential to test the new pump. Turn the power back on at the circuit breaker and check if the pump is working correctly. You should see water flowing through the discharge pipe. If the pump does not operate as expected, turn off the power immediately and double-check all connections and installation steps.
Step 7 Replace the Well Cover
Once you confirm that the new submersible well pump is functioning correctly, replace the well cover securely. Ensure that it is sealed properly to prevent debris from entering the well.
Conclusion
Changing a submersible well pump requires careful preparation and attention to detail. By following these steps and prioritizing safety, you can handle the task effectively. Regular maintenance can prolong the life of your pump, but when replacement is necessary, being informed and prepared will make the process smoother. If at any point you feel unsure, consulting a professional is always a wise option.
-
Your Guide to Deep Well Pumps
NewsOct.31,2024
-
Why Choose a Stainless Steel Deep Well Pump?
NewsOct.31,2024
-
Understanding Water-Filled Submersible Pumps
NewsOct.31,2024
-
Understanding SS Submersible Pumps
NewsOct.31,2024
-
Reliable Submersible Well Pumps for Your Water Supply Needs
NewsOct.31,2024
-
Choosing the Right Submersible Pump for Your Water Management Needs
NewsOct.31,2024
-
 Understanding Water-Filled Submersible PumpsWhen it comes to selecting the right pump for your water management needs, understanding the different types available is crucial.Detail
 -
 Guide to Installing a Deep Well Submersible PumpWhen dealing with deep wells, a deep well submersible pump is often the most effective solution for extracting water from significant depths.Detail
 -
 Finding the Right Submersible PumpWhen seeking an efficient solution for pumping water from deep wells, sumps, or other applications, the submersible pump is a leading choice.Detail
