10 月 . 05, 2024 22:42 Back to list
how to prime a submersible pump
How to Prime a Submersible Pump
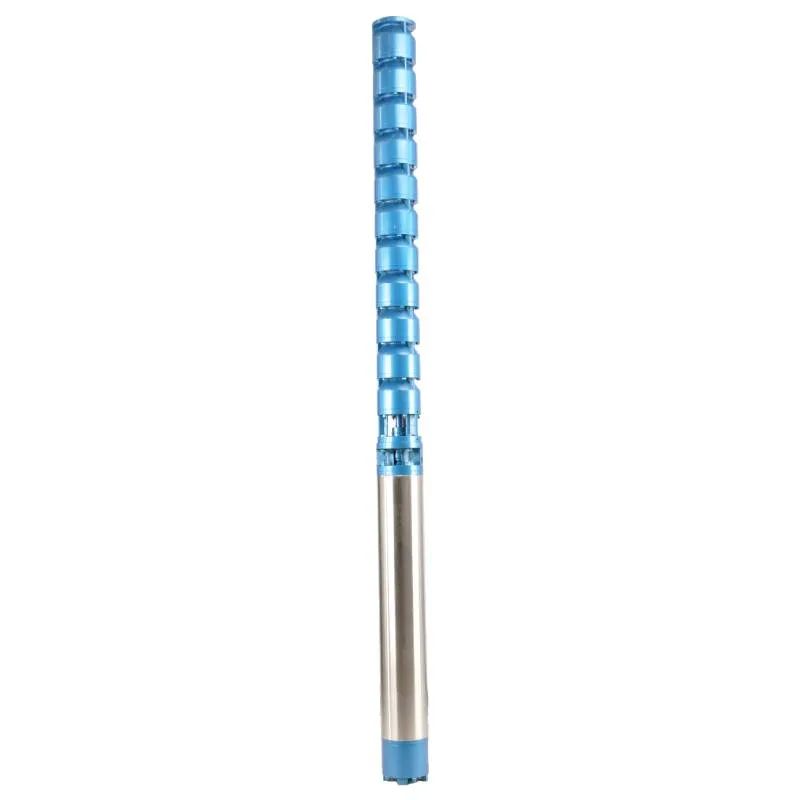
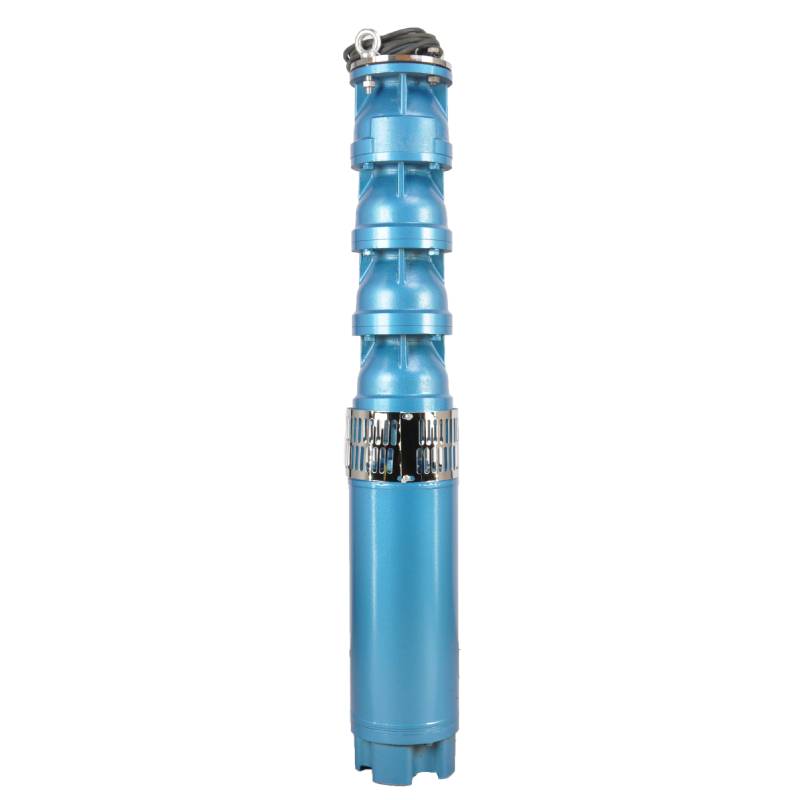
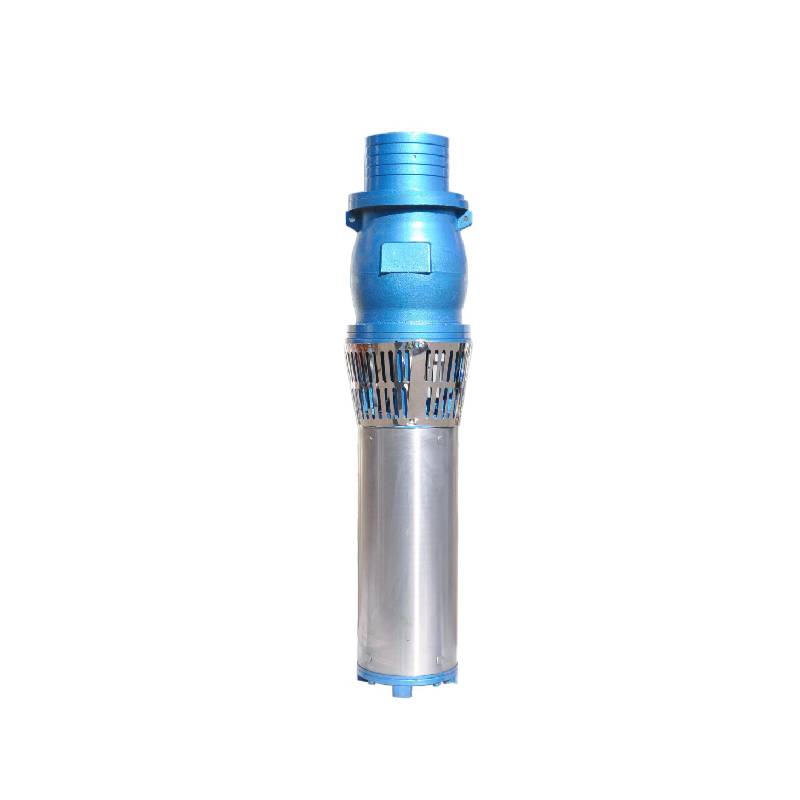
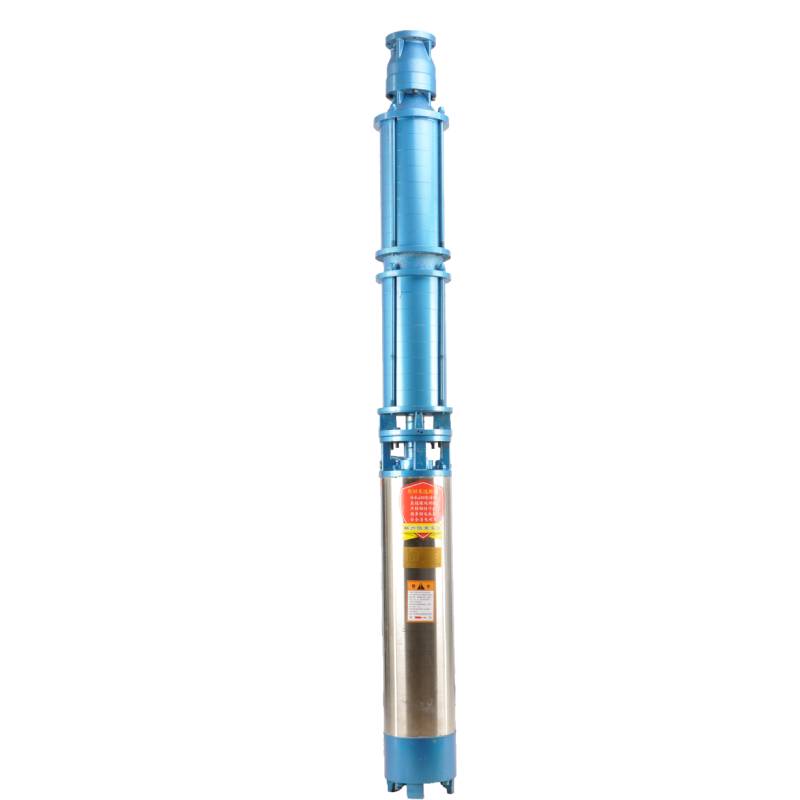
Priming a submersible pump is an essential step in ensuring its proper operation and efficiency when pumping water or other fluids. Unlike other types of pumps, submersible pumps are designed to operate while submerged in the fluid they are pumping. However, they must be properly primed to remove any air from the system where it would inhibit pumping efficiency and potentially lead to damage. In this article, we will discuss the importance of priming, the steps involved, and some troubleshooting tips.
Understanding the Importance of Priming
Priming is the process of filling the pump and suction line with liquid to create the necessary suction for the pump to function effectively. When a submersible pump is attached to the power supply and immersed in fluid, it is crucial that all air is displaced. Air can create a barrier that prevents the pump from creating the vacuum needed to move water, leading to cavitation, overheating, and eventual failure of the pump.
Priming is particularly important in applications where the pump may be located at significant depths or where water levels fluctuate. Ensuring that the pump is properly primed helps maintain optimal performance, extends the lifespan of the pump, and protects the system from potential damage.
Steps to Prime a Submersible Pump
1. Prepare the Location Before starting the priming process, ensure that the area around the pump is clean and free of debris. This will help facilitate easier access and operation. Make sure that the power to the pump is turned off and that safety precautions are in place.
2. Check the Fluid Level Ensure that there is enough fluid in the well or reservoir to fully submerge the pump. The fluid level should be above the pump's intake to allow for proper priming.
3. Inspect the Pump Check for any visible signs of damage or wear on the pump. This includes examining the electrical connections, seals, and the impeller. Any damaged components should be repaired or replaced before proceeding.
how to prime a submersible pump

4. Fill the Pump While some submersible pumps are self-priming, it is always a good idea to pre-fill the pump with liquid. Remove the vent plug (if applicable) and carefully pour water or any compatible fluid into the pump casing until it is filled. Replace the vent plug securely.
5. Connect to Power With the pump filled with fluid, reconnect the power supply. Be sure that the pump is submerged before turning it on, as running a dry pump can damage it.
6. Monitor the Pump Once the power is turned on, observe the pump for a few minutes. You should see the fluid being pumped out. If the pump does not start pumping fluid, it may be necessary to check for air leaks in the suction line or to repeat the priming process.
Troubleshooting Tips
If you find that your submersible pump is not priming or running properly after attempting to prime it, here are some troubleshooting tips
- Check for Air Leaks Look for any visible cracks or gaps in the suction line that could be allowing air to enter. Ensure all connections are tight and secure. - Inspect the Check Valve A faulty check valve can prevent proper operation. Verify that the check valve is functioning correctly and not stuck in the closed position.
- Look for Blockages Debris or blockages in the pump intake can restrict fluid flow. Inspect the intake area for any obstructions and clear them as necessary.
- Review the Pump Depth Ensure that the pump is installed at an appropriate depth. If it’s too deep, it may struggle to create the necessary suction.
In conclusion, properly priming a submersible pump is crucial for its efficient operation and longevity. By following the steps outlined above and remaining vigilant for any issues, you can ensure that your pump operates at its best, whether it's for drainage, irrigation, or other applications. Regular maintenance and inspections will further enhance the performance of your submersible pump and help prevent issues before they arise.
-
Your Guide to Deep Well Pumps
NewsOct.31,2024
-
Why Choose a Stainless Steel Deep Well Pump?
NewsOct.31,2024
-
Understanding Water-Filled Submersible Pumps
NewsOct.31,2024
-
Understanding SS Submersible Pumps
NewsOct.31,2024
-
Reliable Submersible Well Pumps for Your Water Supply Needs
NewsOct.31,2024
-
Choosing the Right Submersible Pump for Your Water Management Needs
NewsOct.31,2024
-
 Understanding Water-Filled Submersible PumpsWhen it comes to selecting the right pump for your water management needs, understanding the different types available is crucial.Detail
 -
 Guide to Installing a Deep Well Submersible PumpWhen dealing with deep wells, a deep well submersible pump is often the most effective solution for extracting water from significant depths.Detail
 -
 Finding the Right Submersible PumpWhen seeking an efficient solution for pumping water from deep wells, sumps, or other applications, the submersible pump is a leading choice.Detail
