
2 月 . 19, 2025 10:24 Back to list
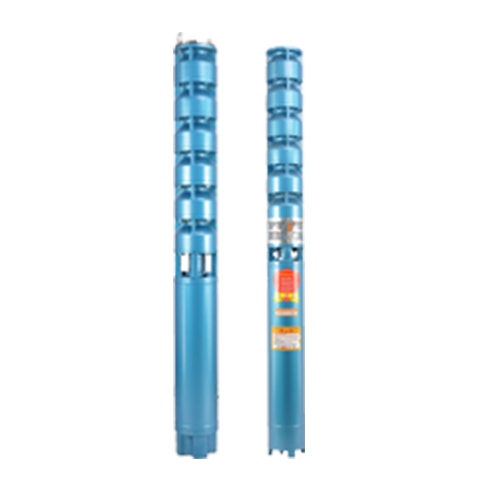
175QJ Deep Well Submersible Pump
Priming a submersible well pump is an essential process that ensures efficient and reliable water delivery for various applications. This detailed guide provides a step-by-step approach to properly priming your submersible well pump, focusing on practical experience, technical expertise, authoritative guidance, and trustworthy practices.
Step 5 Seal the System After filling the pump with water, securely replace the priming plug. Double-check all connections, ensuring that seals and gaskets are intact to prevent air leaks. Proper sealing is essential to maintain the integrity of the priming process. Step 6 Restore Power and Monitor Reconnect the pump to the power source and switch it on. Monitor the pump as it starts operating, observing the pressure gauge to ensure it stabilizes within the recommended range. Listen for any unusual noises that may indicate air in the system or mechanical issues. Step 7 Troubleshoot and Adjust If the pump does not operate efficiently or if air is still present in the system, consider repeating the priming process. Check for hidden leaks in the piping and ensure the check valve is functioning correctly. Adjust any loose fittings or worn parts to optimize performance. Maintaining a Well-Primed Pump Regular maintenance is key to ensuring your submersible well pump remains primed and functional. Periodically check for leaks, inspect the check valve for wear, and ensure the pump’s electrical connections are secure. Drain and refill the pump as needed to prevent sediment buildup and air pockets. The expertise required to prime a submersible well pump involves understanding both the mechanical and hydraulic aspects of the pumping system. Utilize authoritative sources such as the pump manufacturer’s manual or a trusted professional for guidance specific to your pump model. In conclusion, the process of priming a submersible well pump, when performed meticulously, contributes significantly to the pump’s efficiency and lifespan. By following this expert-guided procedure and committing to regular maintenance, you can ensure that your submersible well pump delivers optimum performance, reliability, and water quality. Trust in the process and seek professional advice when necessary to uphold the integrity and functionality of your water pumping system.

Step 5 Seal the System After filling the pump with water, securely replace the priming plug. Double-check all connections, ensuring that seals and gaskets are intact to prevent air leaks. Proper sealing is essential to maintain the integrity of the priming process. Step 6 Restore Power and Monitor Reconnect the pump to the power source and switch it on. Monitor the pump as it starts operating, observing the pressure gauge to ensure it stabilizes within the recommended range. Listen for any unusual noises that may indicate air in the system or mechanical issues. Step 7 Troubleshoot and Adjust If the pump does not operate efficiently or if air is still present in the system, consider repeating the priming process. Check for hidden leaks in the piping and ensure the check valve is functioning correctly. Adjust any loose fittings or worn parts to optimize performance. Maintaining a Well-Primed Pump Regular maintenance is key to ensuring your submersible well pump remains primed and functional. Periodically check for leaks, inspect the check valve for wear, and ensure the pump’s electrical connections are secure. Drain and refill the pump as needed to prevent sediment buildup and air pockets. The expertise required to prime a submersible well pump involves understanding both the mechanical and hydraulic aspects of the pumping system. Utilize authoritative sources such as the pump manufacturer’s manual or a trusted professional for guidance specific to your pump model. In conclusion, the process of priming a submersible well pump, when performed meticulously, contributes significantly to the pump’s efficiency and lifespan. By following this expert-guided procedure and committing to regular maintenance, you can ensure that your submersible well pump delivers optimum performance, reliability, and water quality. Trust in the process and seek professional advice when necessary to uphold the integrity and functionality of your water pumping system.
Latest news
-
Your Guide to Deep Well Pumps
NewsOct.31,2024
-
Why Choose a Stainless Steel Deep Well Pump?
NewsOct.31,2024
-
Understanding Water-Filled Submersible Pumps
NewsOct.31,2024
-
Understanding SS Submersible Pumps
NewsOct.31,2024
-
Reliable Submersible Well Pumps for Your Water Supply Needs
NewsOct.31,2024
-
Choosing the Right Submersible Pump for Your Water Management Needs
NewsOct.31,2024
-
 Understanding Water-Filled Submersible PumpsWhen it comes to selecting the right pump for your water management needs, understanding the different types available is crucial.Detail
 -
 Guide to Installing a Deep Well Submersible PumpWhen dealing with deep wells, a deep well submersible pump is often the most effective solution for extracting water from significant depths.Detail
 -
 Finding the Right Submersible PumpWhen seeking an efficient solution for pumping water from deep wells, sumps, or other applications, the submersible pump is a leading choice.Detail