12 月 . 09, 2024 17:58 Back to list
how to remove a submersible deep well pump
How to Remove a Submersible Deep Well Pump
Removing a submersible deep well pump can be a daunting task, especially if you haven't done it before. However, with the right tools, safety precautions, and knowledge, the process can be more manageable. In this article, we will guide you through the necessary steps to safely and effectively remove a submersible deep well pump.
Understanding Your Deep Well Pump
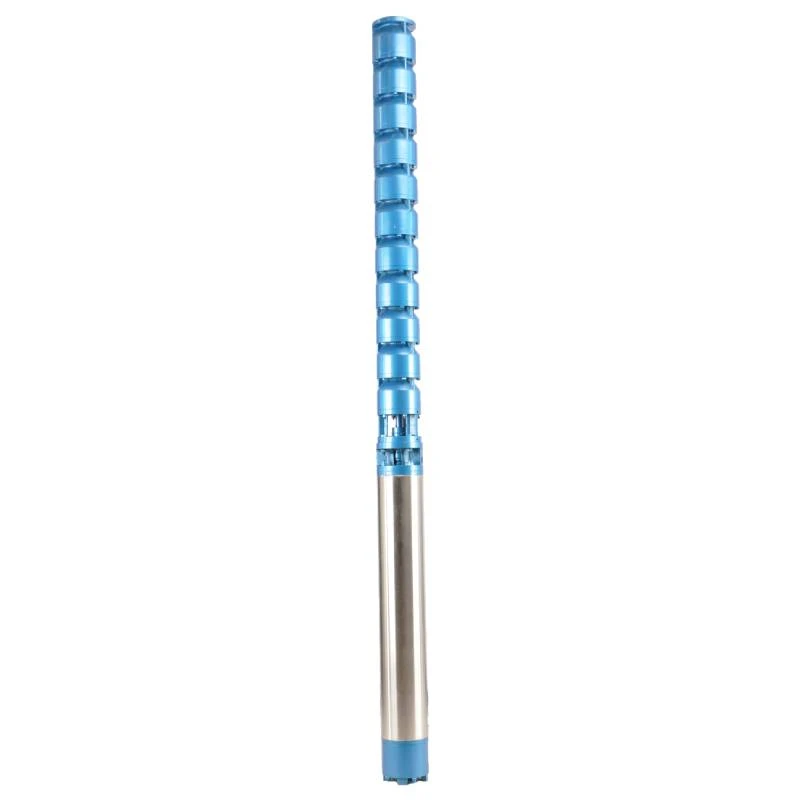
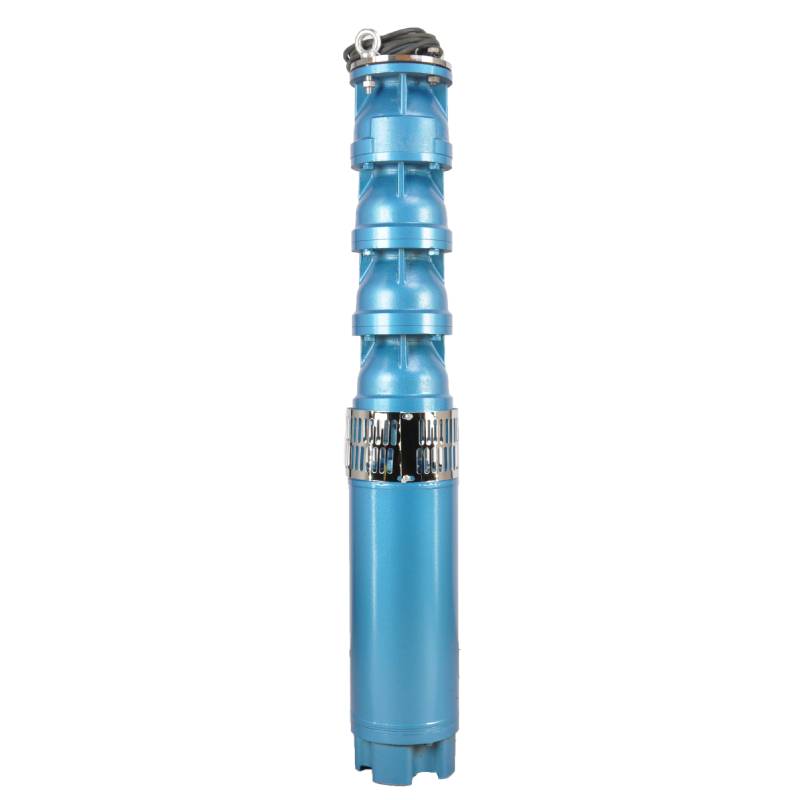
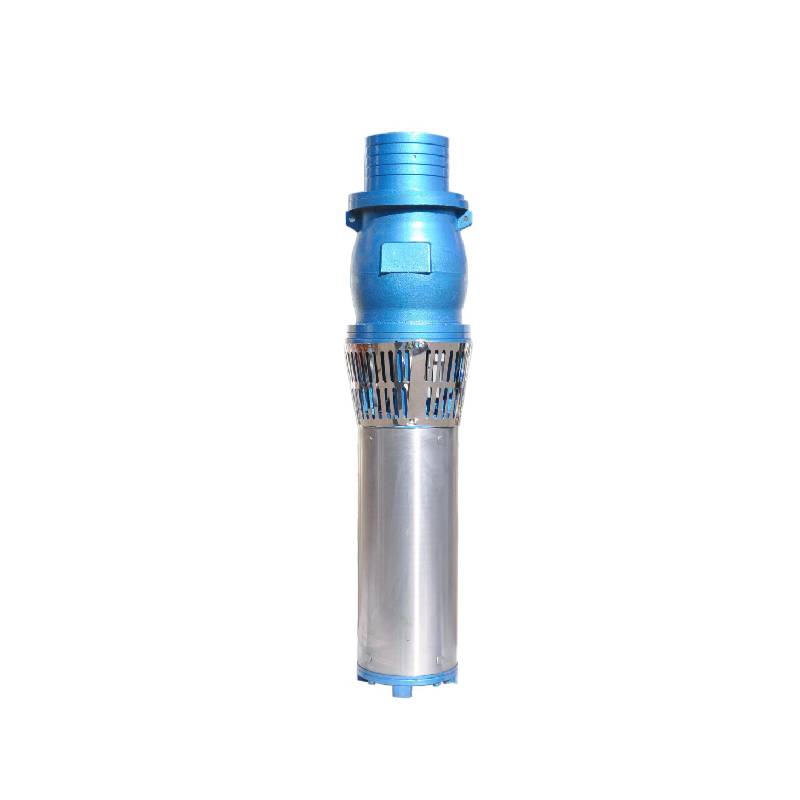
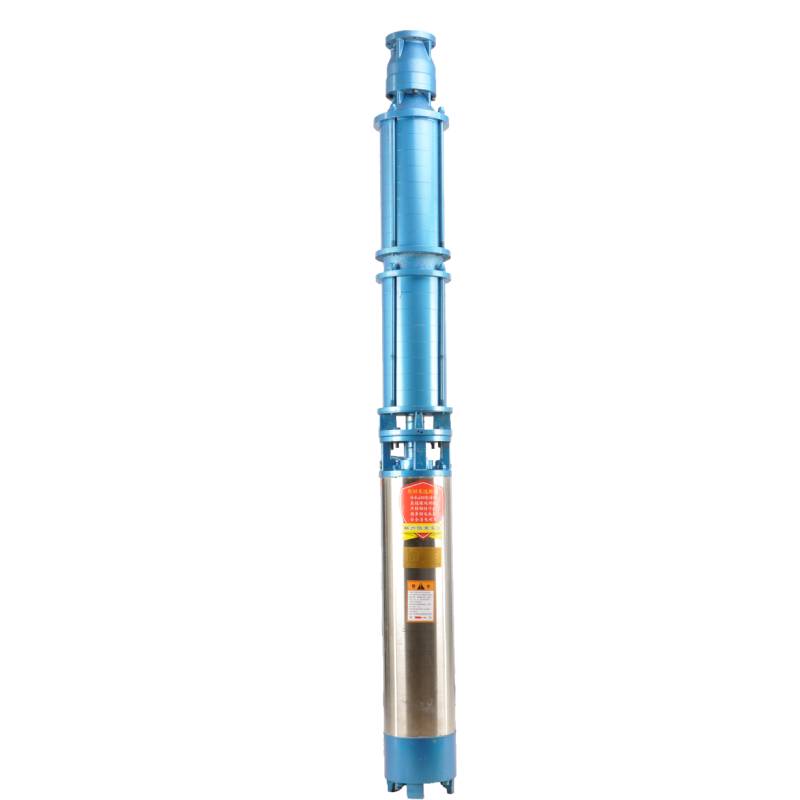
Before starting, it is crucial to understand the basic structure and functionality of your deep well pump. Submersible pumps are designed to be submerged in water and typically consist of a motor, impellers, and a discharge pipe. These systems are commonly used to draw water from deep wells, and they can vary in size, power, and installation method. Familiarizing yourself with your specific pump model will help you anticipate the challenges you may face during removal.
Tools and Safety Equipment Needed
To remove a submersible deep well pump, you will need the following tools and equipment
- Pipe wrenches or adjustable wrenches - Slings or a rope (if the pump is heavy) - A bucket or some means to catch water before removal - Safety gloves and goggles - A fishing rod or retrieval tool (in case the pump gets stuck) - A flathead screwdriver or pry bar - A powered winch or hoist (for deeper installations)
Make sure to wear appropriate safety gear throughout the process to protect yourself from any potential hazards.
Steps to Remove the Submersible Deep Well Pump
how to remove a submersible deep well pump

1. Turn Off Power Supply Before starting any work, it is essential to turn off the power supply to the pump. Locate the circuit breaker or disconnect switch that powers the pump and turn it off. This ensures that you will not be exposed to electrical currents during the removal process.
2. Drain the Wellhead If possible, use a bucket to drain the water from the wellhead before starting the removal process. This will reduce the weight of the water in the pipe and minimize spillage during extraction.
3. Disconnect the Discharge Pipe The next step involves disconnecting the discharge pipe from the top of the wellhead. Use the appropriate pipe wrench to loosen and remove the fittings. Be prepared for some residual water to spill out.
4. Prepare to Lift the Pump If your pump is located deeper in the well, you will need a sturdy sling or rope to connect to it. Ensure that the sling is securely attached to a strong part of the pump to prevent it from slipping.
5. Lift the Pump Gently Begin to lift the pump slowly and steadily. If you’re using a powered winch or hoist, ensure that it is properly anchored. Avoid jerking motions, as these can damage the pump or the well casing. If resistance is encountered, stop and assess the situation before continuing.
6. Retrieve the Pump Once the pump is out of the well, set it aside on a flat and stable surface. Inspect the pump for any visible damage or wear. Assess the condition of the wiring and disconnect anything that needs repairs or replacement.
7. Clean Up After the pump has been successfully removed, clean up any spilled water and ensure that all tools and equipment are accounted for. This is also a good time to examine the well for blockages or other issues that may need attention before installing a new pump.
Conclusion
Removing a submersible deep well pump requires careful planning, the right tools, and attention to safety. By following the steps outlined above, you can effectively remove and inspect your pump. If you feel uncomfortable performing this task, it is advisable to hire a professional to ensure safety and proper handling. Regular maintenance and timely removal can extend the life of your pump and improve the efficiency of your water supply system.
-
Your Guide to Deep Well Pumps
NewsOct.31,2024
-
Why Choose a Stainless Steel Deep Well Pump?
NewsOct.31,2024
-
Understanding Water-Filled Submersible Pumps
NewsOct.31,2024
-
Understanding SS Submersible Pumps
NewsOct.31,2024
-
Reliable Submersible Well Pumps for Your Water Supply Needs
NewsOct.31,2024
-
Choosing the Right Submersible Pump for Your Water Management Needs
NewsOct.31,2024
-
 Understanding Water-Filled Submersible PumpsWhen it comes to selecting the right pump for your water management needs, understanding the different types available is crucial.Detail
 -
 Guide to Installing a Deep Well Submersible PumpWhen dealing with deep wells, a deep well submersible pump is often the most effective solution for extracting water from significant depths.Detail
 -
 Finding the Right Submersible PumpWhen seeking an efficient solution for pumping water from deep wells, sumps, or other applications, the submersible pump is a leading choice.Detail
