
2 月 . 13, 2025 05:15 Back to list
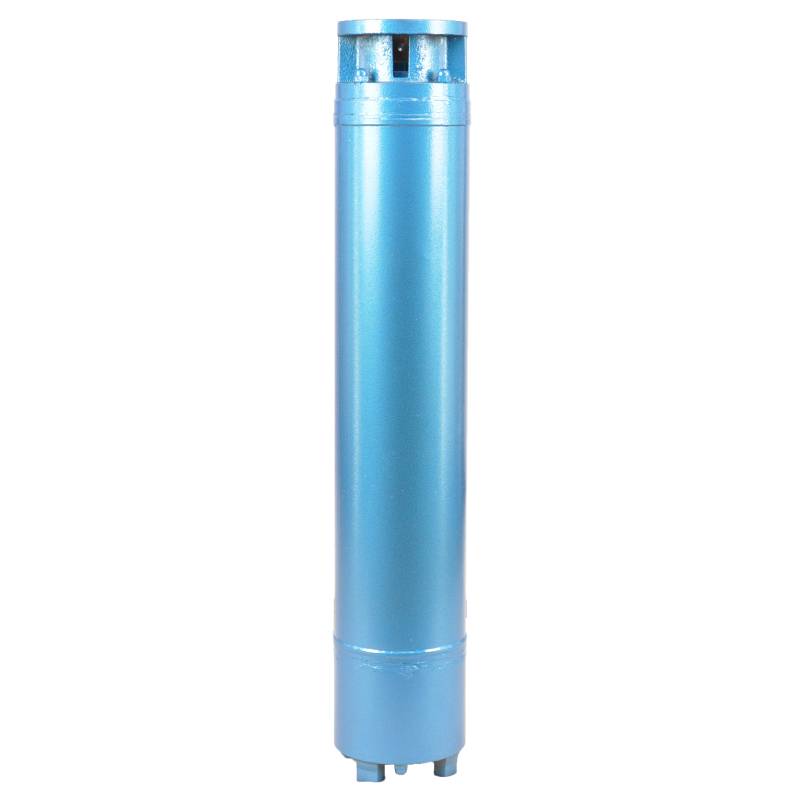
175QJ Deep Well Submersible Pump
Replacing a submersible well pump can seem like a daunting task, but with the right preparation, tools, and understanding, it can be accomplished efficiently and safely. Whether you're a seasoned professional or a determined DIY homeowner, having the correct information at your fingertips is essential. Here's a comprehensive guide based on firsthand experience and technical expertise that ensures a successful pump replacement process.
Begin by removing the well casing cap, and disconnect the electrical wires connected to the pump. Gently pull the existing pump to the surface using the pump removal tool or a safely rigged hoist mechanism. During the removal, inspect the well pipes for any signs of corrosion or damage, as this may need addressing before installing a new pump. Keep an eye out for any trapped debris or materials that could obstruct the new pump's performance. Installation of the New Pump Once the old pump is removed, attach the new pump to the drop pipe and secure it with safety cables. Carefully connect the electrical wires as per the manufacturer's instructions, ensuring that connections are secure and waterproof. Lower the new pump into the well casing gradually to avoid damaging the pump or the well components. Ensure that the pump is correctly aligned and that no kinks are present in the wiring or piping. Testing and Final Adjustments After installation, reconnect the power supply and inspect the pump’s performance. Ensure the pump cycles correctly without excess vibration or noise, which could indicate an installation issue. Check for leaks in the system by monitoring the water pressure and flow rate. It's crucial to allow the pump to run for a few moments to ensure the system is free of air pockets. Expert Tips Regular maintenance is essential for extending the lifespan of any well pump. Consider conducting bi-annual inspections of your well system to catch any potential problems early. Using a water softener can also greatly reduce mineral buildup in the pump components, enhancing efficiency and longevity. Keeping a detailed log of your well pump's specifications and service history can aid in troubleshooting any future issues. By following these expert guidelines and understanding the specifics of your well system, replacing a submersible well pump becomes a manageable task. Prioritizing safety, employing the right tools, and conducting thorough testing ensure a smooth and successful pump replacement, leading to uninterrupted and reliable water supply.
Begin by removing the well casing cap, and disconnect the electrical wires connected to the pump. Gently pull the existing pump to the surface using the pump removal tool or a safely rigged hoist mechanism. During the removal, inspect the well pipes for any signs of corrosion or damage, as this may need addressing before installing a new pump. Keep an eye out for any trapped debris or materials that could obstruct the new pump's performance. Installation of the New Pump Once the old pump is removed, attach the new pump to the drop pipe and secure it with safety cables. Carefully connect the electrical wires as per the manufacturer's instructions, ensuring that connections are secure and waterproof. Lower the new pump into the well casing gradually to avoid damaging the pump or the well components. Ensure that the pump is correctly aligned and that no kinks are present in the wiring or piping. Testing and Final Adjustments After installation, reconnect the power supply and inspect the pump’s performance. Ensure the pump cycles correctly without excess vibration or noise, which could indicate an installation issue. Check for leaks in the system by monitoring the water pressure and flow rate. It's crucial to allow the pump to run for a few moments to ensure the system is free of air pockets. Expert Tips Regular maintenance is essential for extending the lifespan of any well pump. Consider conducting bi-annual inspections of your well system to catch any potential problems early. Using a water softener can also greatly reduce mineral buildup in the pump components, enhancing efficiency and longevity. Keeping a detailed log of your well pump's specifications and service history can aid in troubleshooting any future issues. By following these expert guidelines and understanding the specifics of your well system, replacing a submersible well pump becomes a manageable task. Prioritizing safety, employing the right tools, and conducting thorough testing ensure a smooth and successful pump replacement, leading to uninterrupted and reliable water supply.
Latest news
-
Your Guide to Deep Well Pumps
NewsOct.31,2024
-
Why Choose a Stainless Steel Deep Well Pump?
NewsOct.31,2024
-
Understanding Water-Filled Submersible Pumps
NewsOct.31,2024
-
Understanding SS Submersible Pumps
NewsOct.31,2024
-
Reliable Submersible Well Pumps for Your Water Supply Needs
NewsOct.31,2024
-
Choosing the Right Submersible Pump for Your Water Management Needs
NewsOct.31,2024
-
 Understanding Water-Filled Submersible PumpsWhen it comes to selecting the right pump for your water management needs, understanding the different types available is crucial.Detail
 -
 Guide to Installing a Deep Well Submersible PumpWhen dealing with deep wells, a deep well submersible pump is often the most effective solution for extracting water from significant depths.Detail
 -
 Finding the Right Submersible PumpWhen seeking an efficient solution for pumping water from deep wells, sumps, or other applications, the submersible pump is a leading choice.Detail