
2 月 . 19, 2025 11:14 Back to list
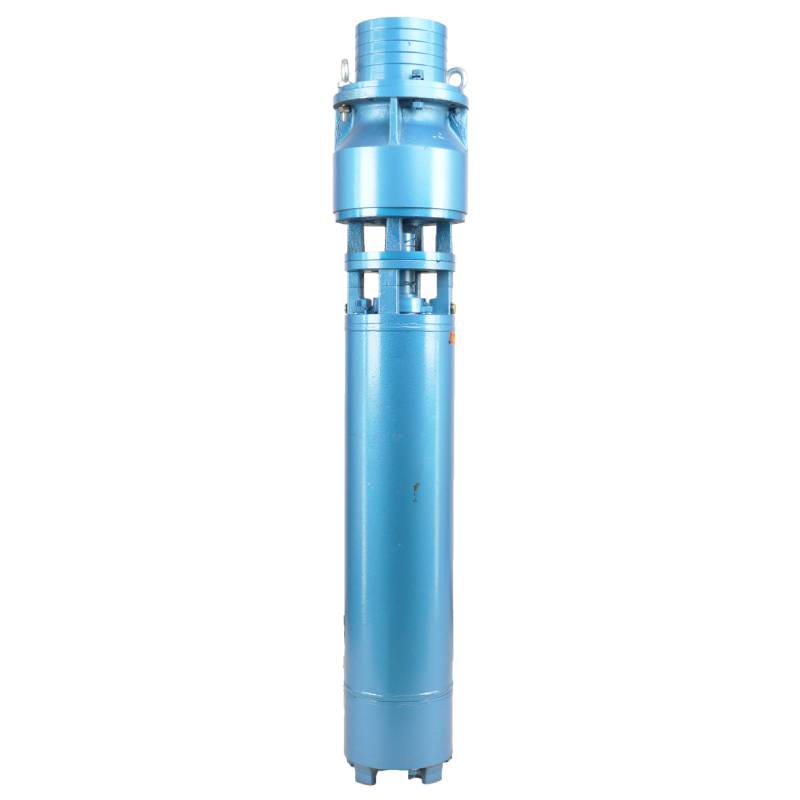
175QJ Deep Well Submersible Pump
Wiring a submersible well pump can seem like a daunting task, especially if it's your first time handling such equipment. However, with a bit of planning and understanding of the fundamentals, the process becomes much more manageable. Drawing from years of hands-on experience, this guide aims to offer in-depth insights to help you complete this task with confidence and precision.
4. Connecting the Wires - For a 2-wire pump, connect the wires directly to the corresponding power supply leads. Typically, this involves matching color codes (e.g., black to black, red to red). - In a 3-wire system, connect the additional wire to the control box. This box is located near the power source and controls the motor function. 5. Secure Connections Utilize waterproof wire connectors to join wires. This prevents moisture from causing short circuits. Wrap connections with electrical tape for an added layer of protection. 6. Insulation and Protection Encase the wired connections in a junction box if possible. This minimizes exposure to the elements and reduces the risk of trip hazards. 7. Test the System Restore power and use a multimeter to check voltage and resistance in your connections, ensuring each matches the pump's specifications. Turn on the pump briefly to verify operational integrity. 8. Final Check After confirming proper function, switch off the power again and secure all components. Disconnect and reconnect several times to ensure consistent performance and reliable connections over time. Expert Tips for Long-Term Efficiency Regular maintenance is vital for extending the lifespan of your submersible well pump. Annually, check the wiring insulation for any signs of wear or damage. In regions prone to lightning storms, consider installing a pump protection device that guards against electrical surges. Moreover, knowledge of local and national electrical codes ensures your installation is compliant and safe. When in doubt, consulting a certified electric technician provides a safety net for both DIY enthusiasts and professionals. Wiring a submersible well pump accurately is essential not just for immediate functionality, but for the longevity of your water supply system. With the right tools, careful planning, and adherence to these detailed steps, the process is both achievable and rewarding, ensuring a reliable water supply for years to come.

4. Connecting the Wires - For a 2-wire pump, connect the wires directly to the corresponding power supply leads. Typically, this involves matching color codes (e.g., black to black, red to red). - In a 3-wire system, connect the additional wire to the control box. This box is located near the power source and controls the motor function. 5. Secure Connections Utilize waterproof wire connectors to join wires. This prevents moisture from causing short circuits. Wrap connections with electrical tape for an added layer of protection. 6. Insulation and Protection Encase the wired connections in a junction box if possible. This minimizes exposure to the elements and reduces the risk of trip hazards. 7. Test the System Restore power and use a multimeter to check voltage and resistance in your connections, ensuring each matches the pump's specifications. Turn on the pump briefly to verify operational integrity. 8. Final Check After confirming proper function, switch off the power again and secure all components. Disconnect and reconnect several times to ensure consistent performance and reliable connections over time. Expert Tips for Long-Term Efficiency Regular maintenance is vital for extending the lifespan of your submersible well pump. Annually, check the wiring insulation for any signs of wear or damage. In regions prone to lightning storms, consider installing a pump protection device that guards against electrical surges. Moreover, knowledge of local and national electrical codes ensures your installation is compliant and safe. When in doubt, consulting a certified electric technician provides a safety net for both DIY enthusiasts and professionals. Wiring a submersible well pump accurately is essential not just for immediate functionality, but for the longevity of your water supply system. With the right tools, careful planning, and adherence to these detailed steps, the process is both achievable and rewarding, ensuring a reliable water supply for years to come.
Latest news
-
Your Guide to Deep Well Pumps
NewsOct.31,2024
-
Why Choose a Stainless Steel Deep Well Pump?
NewsOct.31,2024
-
Understanding Water-Filled Submersible Pumps
NewsOct.31,2024
-
Understanding SS Submersible Pumps
NewsOct.31,2024
-
Reliable Submersible Well Pumps for Your Water Supply Needs
NewsOct.31,2024
-
Choosing the Right Submersible Pump for Your Water Management Needs
NewsOct.31,2024
-
 Understanding Water-Filled Submersible PumpsWhen it comes to selecting the right pump for your water management needs, understanding the different types available is crucial.Detail
 -
 Guide to Installing a Deep Well Submersible PumpWhen dealing with deep wells, a deep well submersible pump is often the most effective solution for extracting water from significant depths.Detail
 -
 Finding the Right Submersible PumpWhen seeking an efficient solution for pumping water from deep wells, sumps, or other applications, the submersible pump is a leading choice.Detail