9 月 . 01, 2024 02:18 Back to list
Installing a Submersible Pump
Installing a Submersible Pump A Comprehensive Guide
Submersible pumps are a popular choice for a variety of applications, ranging from residential drainage to irrigation and industrial purposes. Their ability to operate underwater makes them efficient and effective for moving water and other liquids. If you're considering installing a submersible pump, this guide will walk you through the essential steps to ensure a successful setup.
Understanding the Basics
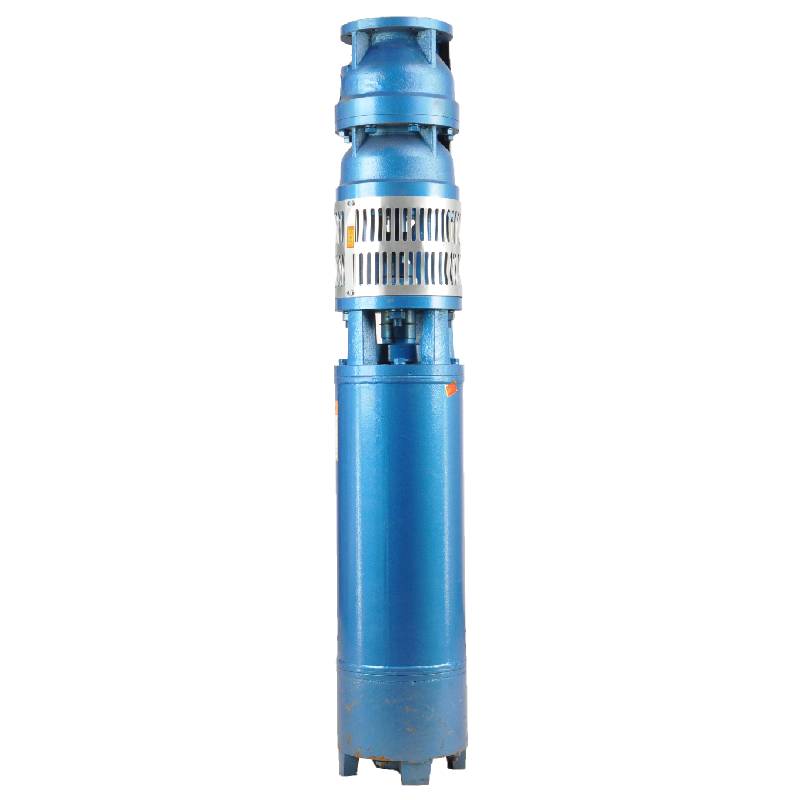
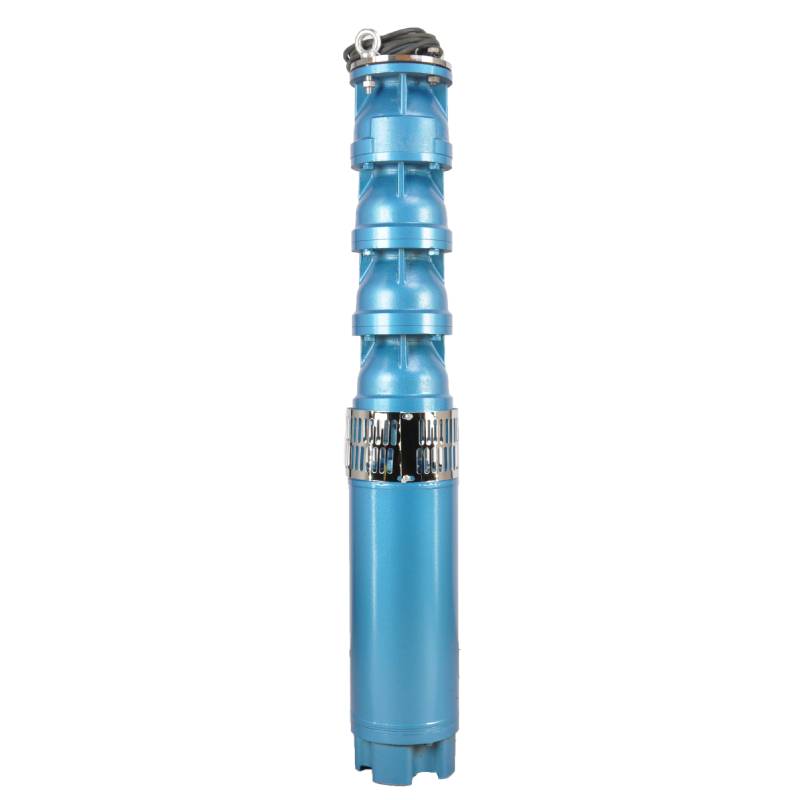
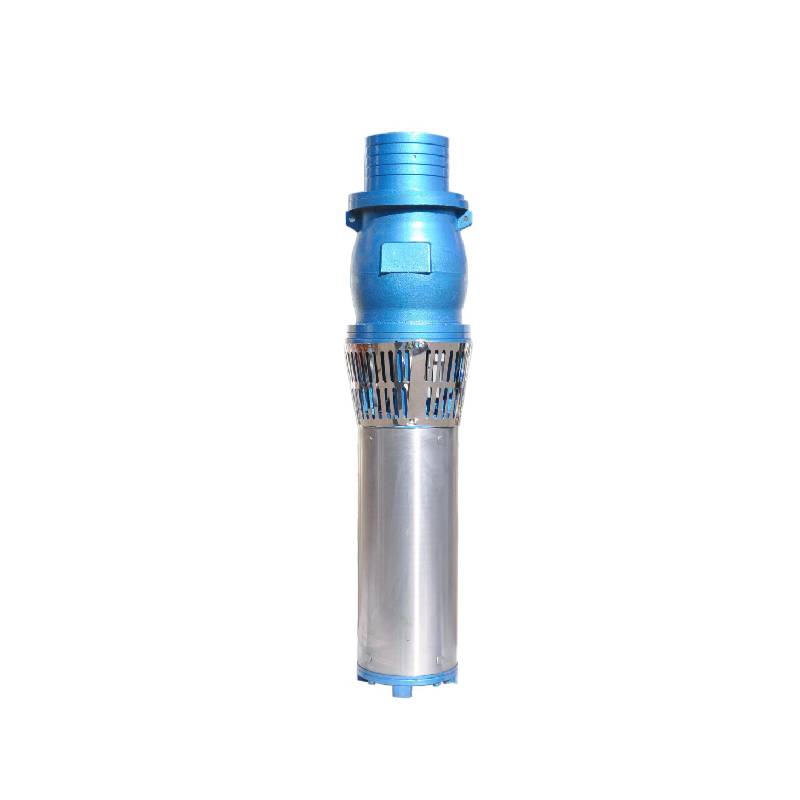
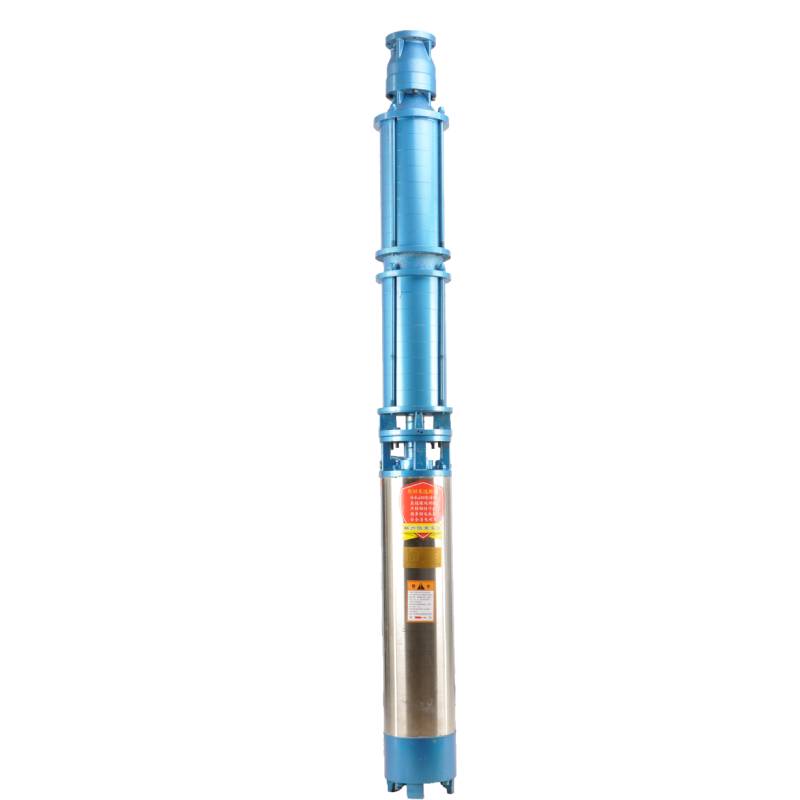
Before diving into the installation process, it’s crucial to understand what a submersible pump is and how it functions. A submersible pump is designed to be submerged in the fluid it is pumping. It has a sealed motor that prevents water from entering and damaging the electrical components. This design allows the pump to push water to the surface effectively, overcoming gravity and minimizing the risk of cavitation.
Selecting the Right Pump
Choosing the right submersible pump involves several factors, including the desired flow rate, the total head (the height to which the water must be lifted), and the specific characteristics of the fluid being pumped. Make sure to consult the manufacturer's specifications and consider hiring a professional if you are unsure which pump is best for your needs.
Preparation for Installation
Before installing the pump, gather the necessary tools and materials. You’ll typically need
- A submersible pump - A discharge pipe - Electrical wiring and a junction box - Tools like wrenches, screwdrivers, and a level - Safety gear (gloves, goggles)
Additionally, ensure you have an adequate power source nearby and that all electrical work complies with local regulations.
Installation Steps
installing a submersible pump

1. Pump Location Choose an appropriate location for the pump. It should be submerged in the fluid source, such as a well, sump, or pond, and positioned in an area that allows for easy access for maintenance.
2. Prepare the Well or Pit If you are installing the pump in a well or sump, clear the area of any debris and ensure that the bottom is level and stable.
3. Install the Pump Carefully lower the submersible pump into the pit or well. Use a sturdy rope or a lifting device to prevent damage. Ensure it is secured and positioned properly.
4. Connect the Discharge Pipe Attach the discharge pipe to the top of the pump. This pipe directs the water to the desired location. Ensure all connections are tight to prevent leaks.
5. Electrical Connections Bring power to the pump by connecting it to a dedicated circuit. It is advisable to install a float switch to automatically turn the pump on and off based on water levels. Always follow the manufacturer's wiring instructions, and consider hiring a licensed electrician for this step.
6. Test the Pump After installation, test the pump by filling the well or pit with water and turning it on. Monitor the operation to ensure everything functions correctly and check for leaks.
Maintenance Tips
Once installed, regular maintenance is key to the longevity of your submersible pump. Periodically inspect the pump for any signs of wear, check the discharge piping for clogs, and ensure that electrical connections remain secure. Clean the surrounding area to prevent debris from entering the pump.
Conclusion
Installing a submersible pump can be a straightforward project if approached with careful planning and attention to detail. By following the steps outlined above, you can ensure a successful installation that will efficiently provide water for your needs. Always prioritize safety and consider professional assistance for electrical work to ensure compliance with all applicable codes and standards.
-
Your Guide to Deep Well Pumps
NewsOct.31,2024
-
Why Choose a Stainless Steel Deep Well Pump?
NewsOct.31,2024
-
Understanding Water-Filled Submersible Pumps
NewsOct.31,2024
-
Understanding SS Submersible Pumps
NewsOct.31,2024
-
Reliable Submersible Well Pumps for Your Water Supply Needs
NewsOct.31,2024
-
Choosing the Right Submersible Pump for Your Water Management Needs
NewsOct.31,2024
-
 Understanding Water-Filled Submersible PumpsWhen it comes to selecting the right pump for your water management needs, understanding the different types available is crucial.Detail
 -
 Guide to Installing a Deep Well Submersible PumpWhen dealing with deep wells, a deep well submersible pump is often the most effective solution for extracting water from significant depths.Detail
 -
 Finding the Right Submersible PumpWhen seeking an efficient solution for pumping water from deep wells, sumps, or other applications, the submersible pump is a leading choice.Detail
