7 月 . 27, 2024 11:28 Back to list
Steps for Successfully Installing a Submersible Well Pump in Your Water System
Installing a Submersible Well Pump A Comprehensive Guide
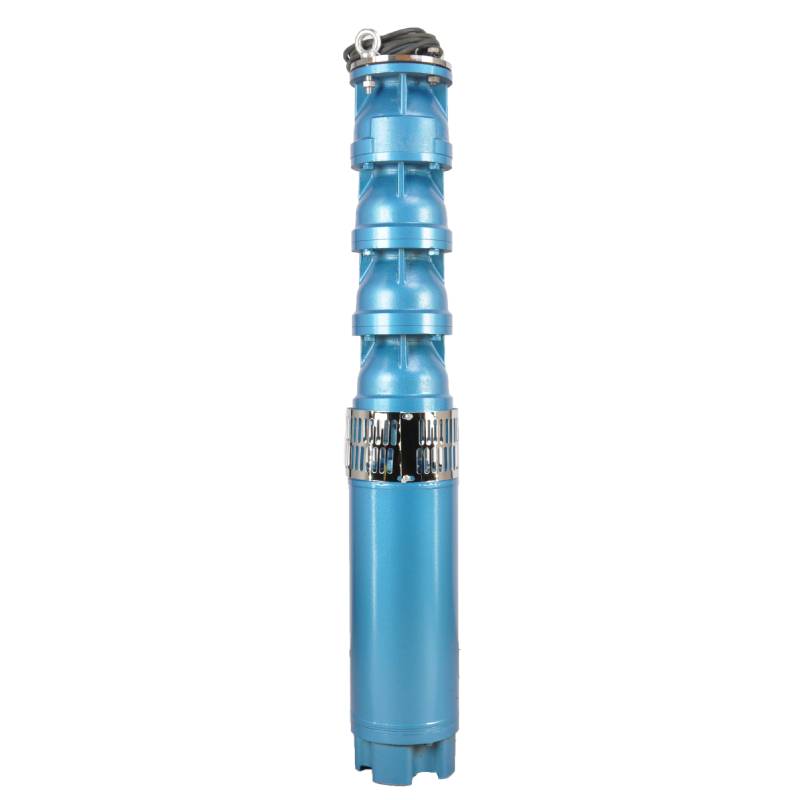
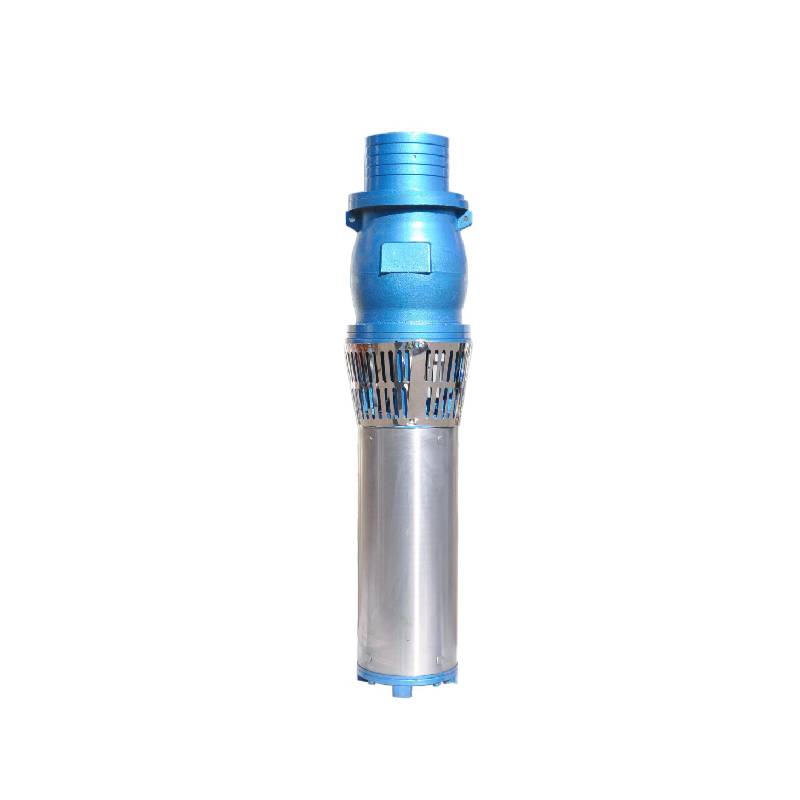
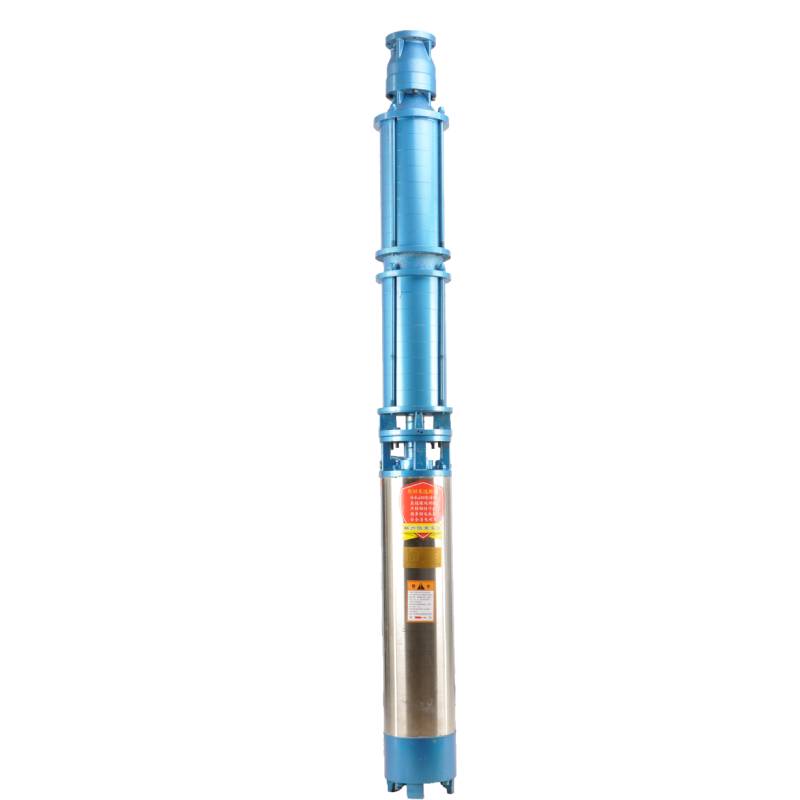
A submersible well pump is a crucial component for extracting groundwater from wells. These pumps are designed to operate underwater, making them efficient and effective for deep well applications. Installing a submersible well pump may seem daunting, but with the right tools and guidance, you can perform the installation successfully. This article will outline the steps needed for installing a submersible well pump, ensuring reliable water supply for your household or farm.
1. Gather Necessary Tools and Materials
Before beginning the installation process, it's essential to gather all the necessary tools and materials. You will need
- Submersible well pump - Pump pitless adapter - Electrical cable - Pipe fittings and PVC pipes - Well casing - Torque wrench - Drill and drill bits - A rope or lifting strap - Pipe wrenches - Safety goggles and gloves
Having all these ready will streamline the installation process.
2. Prepare the Well
Before installation, ensure the well is clean and free of debris. You may need to flush out the well to remove any sediment that could obstruct the pump. Additionally, check the depth of the well and the water level to ensure the pump can operate efficiently and that the submersible pump is suitable for the specific depth.
3. Install the Pitless Adapter
The pitless adapter is an essential component that connects the well casing to the waterline. Carefully install the pitless adapter according to the manufacturer's instructions. Make sure it is securely seated to prevent any leakages once the pump is in operation.
4. Attach the Pump to the Pipe
installing a submersible well pump

Next, attach the submersible pump to the pipe. Use a pipe wrench to secure the connections tightly, ensuring there are no gaps or leaks. The pump’s intake should be positioned a few feet above the well bottom to prevent sediment from entering the pump, which could cause damage over time.
5. Prepare the Electrical Connection
Electrical connections require particular attention. Make sure to use a waterproof splice connector to avoid any electrical hazards. Run the electrical cable from the surface to the pump, ensuring it’s securely fastened so it won’t tangle or come loose during installation. It's critical to follow local electrical codes and consider hiring a licensed electrician for this step to ensure safety and compliance.
6. Lower the Pump into the Well
Using a lifting strap or rope, carefully lower the pump into the well. Ensure that the pipe and electrical cable are being fed down smoothly without twisting or snagging. Take your time with this step since rushing could lead to damaging the pump. Once the pump reaches the advised depth, securely attach it to the pitless adapter.
7. Connect the Discharge Line
After the pump is in place, connect the discharge line to the top of the pump. Make sure to use appropriate fittings and sealants to prevent leaks. This line will carry water from the pump to your home or irrigation system.
8. Test the System
Once all connections are made, it's time to test the system. Turn on the power to the pump and check for any leaks at the connection points. Observe the pump's operation and ensure it's functioning correctly, delivering water as expected.
Conclusion
Installing a submersible well pump can be a rewarding task when done correctly. Following these steps will help you achieve a successful installation, providing a reliable water supply for your needs. Always prioritize safety by wearing appropriate gear and considering professional assistance when necessary, particularly with electrical connections. With a reliable submersible well pump in place, you can enjoy clean and consistent water access in your home or agricultural venture.
-
Your Guide to Deep Well Pumps
NewsOct.31,2024
-
Why Choose a Stainless Steel Deep Well Pump?
NewsOct.31,2024
-
Understanding Water-Filled Submersible Pumps
NewsOct.31,2024
-
Understanding SS Submersible Pumps
NewsOct.31,2024
-
Reliable Submersible Well Pumps for Your Water Supply Needs
NewsOct.31,2024
-
Choosing the Right Submersible Pump for Your Water Management Needs
NewsOct.31,2024
-
 Understanding Water-Filled Submersible PumpsWhen it comes to selecting the right pump for your water management needs, understanding the different types available is crucial.Detail
 -
 Guide to Installing a Deep Well Submersible PumpWhen dealing with deep wells, a deep well submersible pump is often the most effective solution for extracting water from significant depths.Detail
 -
 Finding the Right Submersible PumpWhen seeking an efficient solution for pumping water from deep wells, sumps, or other applications, the submersible pump is a leading choice.Detail
