12 月 . 03, 2024 18:05 Back to list
submersible well pump installation
Installation of Submersible Well Pumps A Comprehensive Guide
Submersible well pumps are crucial components for water extraction from deep wells. Unlike traditional pumps that sit above the ground, submersible pumps are designed to function underwater, which helps to prevent surface-level contamination and reduces the risk of cavitation. Installing a submersible well pump can be a complex process, but with proper planning and execution, it can be accomplished efficiently. Here’s a detailed guide to ensure your installation goes smoothly.
Understanding Submersible Well Pumps
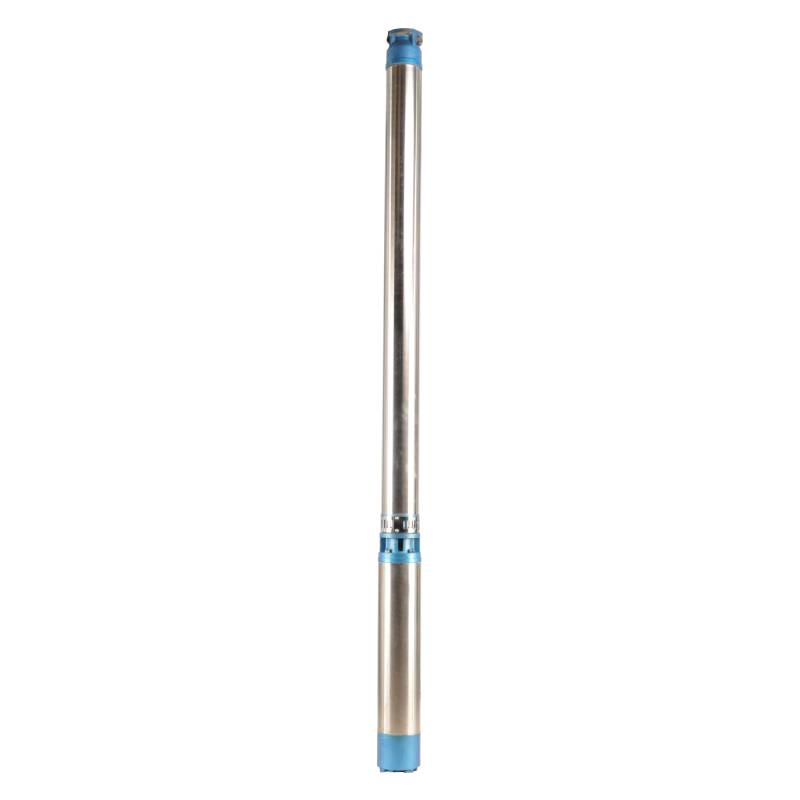
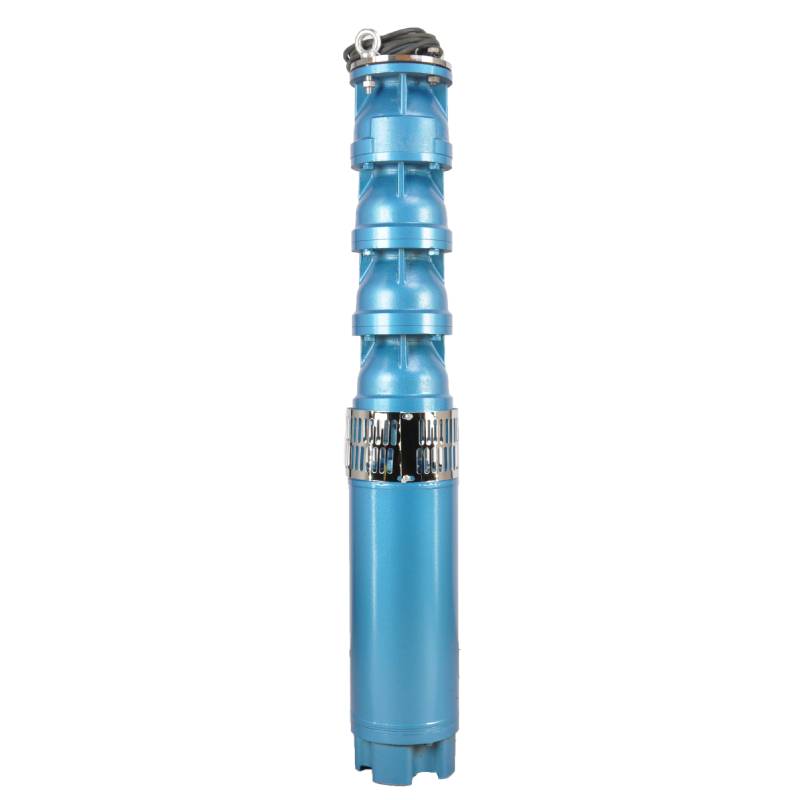
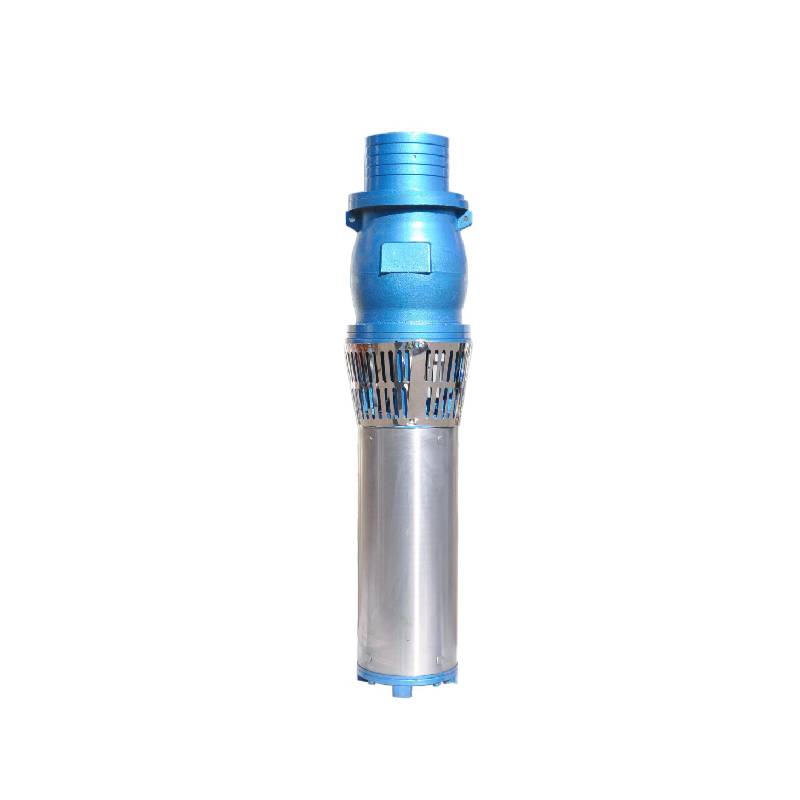
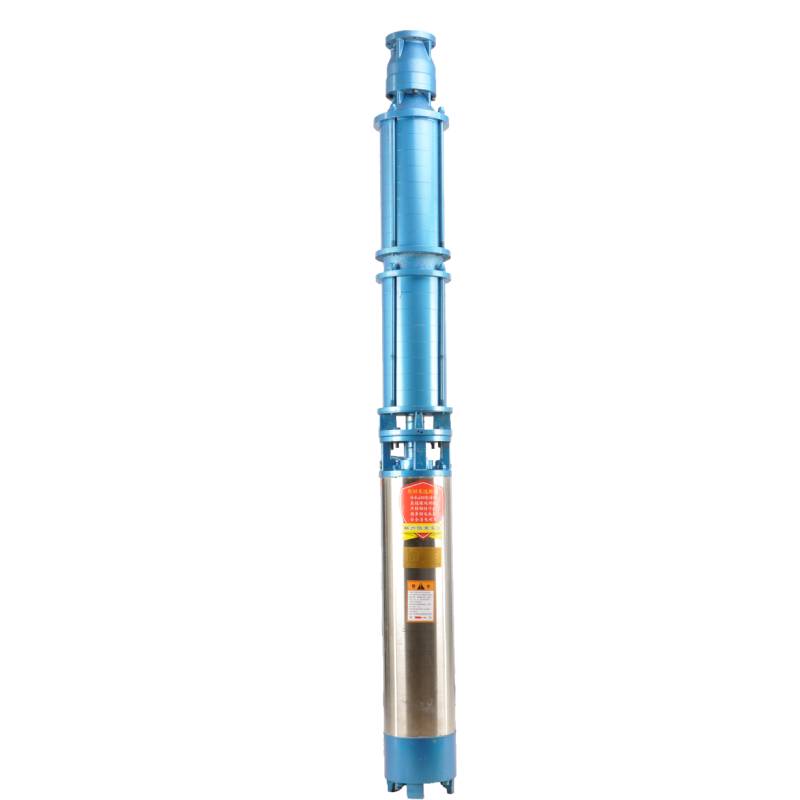
Before jumping into the installation process, it's essential to understand what a submersible well pump is. This type of pump is sealed in a waterproof housing and operates submerged in water. It consists of a motor attached to a pump casing, with the motor usually located at the bottom of the well. The pump uses a series of impellers to move water to the surface.
Step-by-Step Installation Process
1. Choose the Right Pump Selecting the appropriate pump is critical. Factors such as well depth, water yield, and the requirements of your home or irrigation system need to be considered. A qualified technician can help you calculate the right pump size and type.
2. Gather Necessary Tools and Materials Before beginning the installation, ensure you have all required tools and materials on hand. This typically includes the submersible pump, PVC pipes or metal risers, a power cord, a control box, a circuit breaker, and various connection fittings.
3. Prepare the Well If the well has been previously used, ensure it's clean and free from debris. Remove any obstructions and ensure that the casing is intact. A properly maintained well is fundamental for optimal pump performance.
submersible well pump installation

4. Install the Pump - Lowering the Pump Carefully lower the pump into the well. It’s vital to do this slowly to prevent damage to the pump and associated equipment. - Secure Connections Connect the pump to the discharge pipe or riser pipe. Ensure all joints are secure to avoid leaks and potential failures during operation. - Seal the Well Casing Once the pump is in position, seal the well casing to prevent contamination and ensure that no contaminants enter the system.
5. Connect the Electrical Supply Electrical installation should be performed by a qualified electrician. This involves connecting the pump to a power supply, ensuring all safety codes are met. It is important to use a control box with overload protection to prevent damage to the motor.
6. Testing the System After everything is connected, it’s time to test the system. Turn on the power supply and observe the operation of the pump. Check for any unusual noises that might indicate improper installation or potential issues. Additionally, monitor the flow rate and ensure that it meets the expected performance level.
7. Finalize the Installation Once everything is working correctly, finalize the installation by securing any loose cables and ensuring the area around the well is clean. It is also beneficial to keep a regular maintenance schedule to check pump performance and longevity.
Maintenance Tips
Regular maintenance of your submersible well pump will enhance its lifespan and efficiency. Periodically inspect the electrical connections, check for any signs of wear or corrosion, and monitor the water quality. It’s advisable to have a professional perform a full inspection every few years.
Conclusion
Installing a submersible well pump can seem daunting, but with careful planning and proper execution, you can ensure a successful installation. Always prioritize safety and, when in doubt, consult with professionals to guarantee that your water supply remains clean and reliable. A well-functioning submersible pump not only guarantees access to fresh water but also supports the sustainability of your water supply system.
-
Your Guide to Deep Well Pumps
NewsOct.31,2024
-
Why Choose a Stainless Steel Deep Well Pump?
NewsOct.31,2024
-
Understanding Water-Filled Submersible Pumps
NewsOct.31,2024
-
Understanding SS Submersible Pumps
NewsOct.31,2024
-
Reliable Submersible Well Pumps for Your Water Supply Needs
NewsOct.31,2024
-
Choosing the Right Submersible Pump for Your Water Management Needs
NewsOct.31,2024
-
 Understanding Water-Filled Submersible PumpsWhen it comes to selecting the right pump for your water management needs, understanding the different types available is crucial.Detail
 -
 Guide to Installing a Deep Well Submersible PumpWhen dealing with deep wells, a deep well submersible pump is often the most effective solution for extracting water from significant depths.Detail
 -
 Finding the Right Submersible PumpWhen seeking an efficient solution for pumping water from deep wells, sumps, or other applications, the submersible pump is a leading choice.Detail
